

- Fundraising Ideas For
- School
- Sports
- Non-Profit
- Church
- Toolbox
- Get Inspired
How To Start a Fundraiser – Your Step-by-Step Guide
Helpful Fundraiser Tools: Sample Parent Letter (PDF), Fundraiser Planning Checklist (PDF), Create a Fundraising Thermometer
How to Start and Organize Your Fundraiser, from A to Z!

Are you in charge of your next school, team or group fundraiser? Are you unsure how to start your fundraiser and organize it from A to Z, to ensure optimal success?
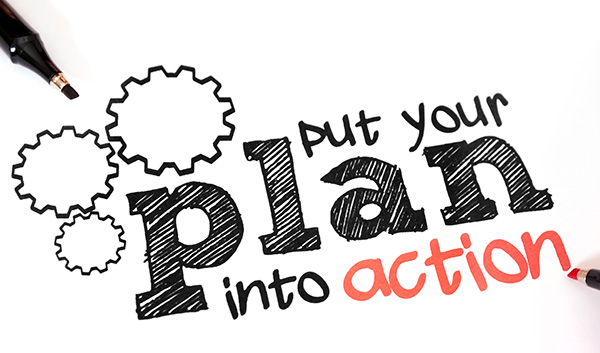
This guide is designed to put your fundraiser on the path to reaching your goals! We’ve created our Step-by-Step Fundraising Guide to help fundraising managers and volunteers who are organizing product fundraisers, to find all the important tips, tools and resources they need, in one location. We’ve broken it down into the following 4 main sections:
Step 1: Organize Your Fundraiser Basics (Why, Who And What)
Know your WHY to ensure everyone is behind your fundraiser! Determine who will be on your selling team and find the perfect fundraiser that matches your needs.
Step 2: Organize All Your Fundraiser Details
Set realistic targets, ideal seller incentives and build the right fundraising team to pull off a successful fundraiser.

Step 3: Motivate Your Sellers And Supporters
A good fundraiser starts with a great kick-off. Educate your sellers, promote your fundraiser and keep everyone informed and energized throughout.
STEP 4: Distribution and Thank Yous!
Organize an efficient distribution day, so everyone gets in and out quickly. Don’t forget that although you probably worked harder than anyone one else, it’s important to show your gratitude and say THANKS to your volunteers, parents, teachers and students. You’ll get even more support next time.
Step 1: Organize Your Fundraiser Basics (Why, Who And What)
.png)
The first step to creating an impactful fundraising experience is to establish the foundation of your fundraiser planning. You need to be able to answer 3 key questions: Why are you fundraising? Who is participating in the fundraiser? And What product are you selling? The answers to these questions are not just the basis of your fundraiser but also the beginning of the sales pitch your team will use throughout the fundraiser.
1) WHY Are We Fundraising?
The launching pad for any fundraiser is to know the WHY behind your fundraiser.
When it’s clearly established why you’re fundraising, (i.e. new uniforms and 2 tournaments) you will be able to establish a financial goal and any other goals that will give your fundraising campaign both purpose and direction.
It’s also important to be realistic. If your financial goal is set too high, you’ll discourage your participants from the beginning. Instead, you could break it out into 2 separate fundraisers.

2) WHO Will Participate?
Determine WHO will be involved actively in your fundraiser.
Don’t expect an entire organization to raise funds for only a small group that would benefit from the funds. The ones who will benefit should be the ones doing the fundraising, and obviously will be the ones most motivated to hit the targets. Getting people involved who will put in little or no effort will simply quash the momentum of your fundraiser.
Get parents involved in all your communications throughout the fundraiser. They’ll be the ones selling your fundraising product at their office place, and accompanying their children door-to-door.
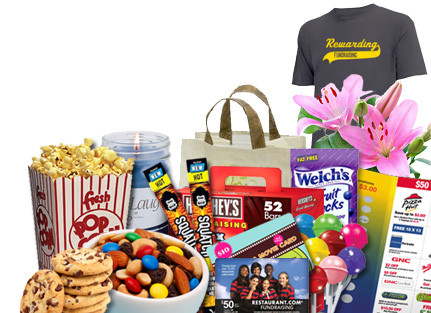
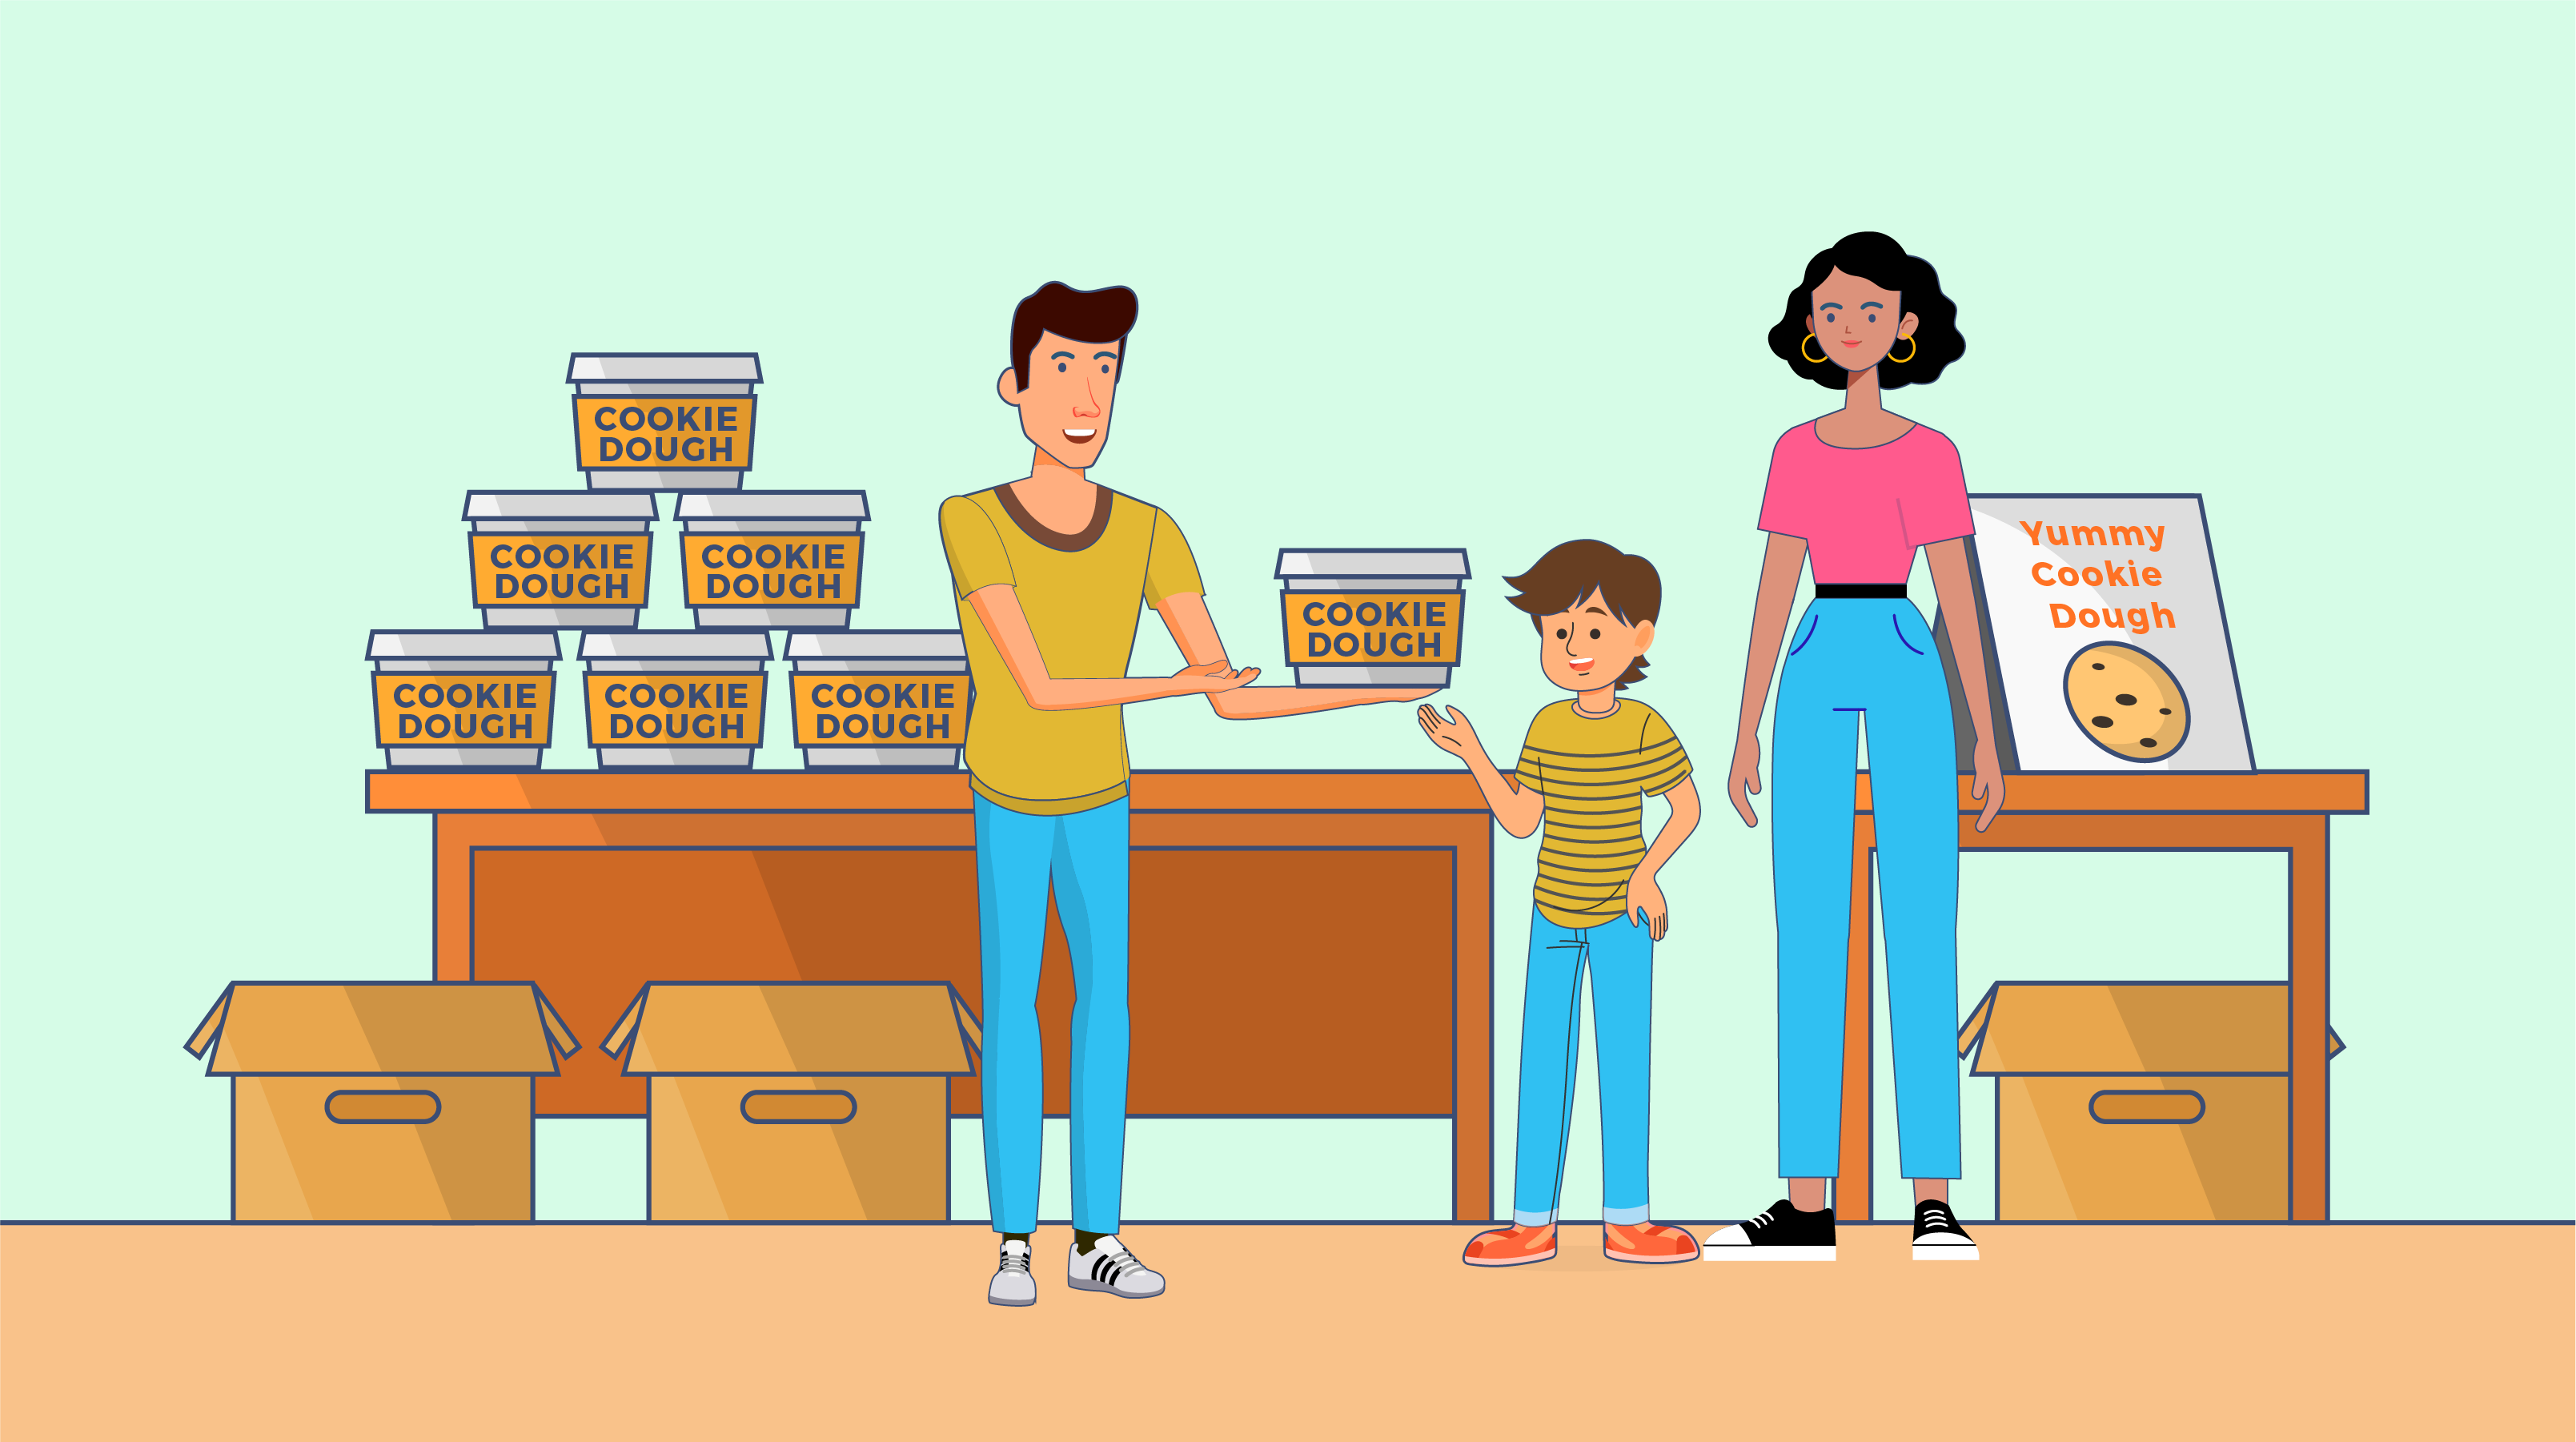
3) WHAT Product Should We Sell?
With the hundreds of fundraising products out there, deciding which fundraiser to sell can be daunting. Consider the elements below to help you narrow down your options:
- How much money do we need to raise?
Come up with a goal that is based on your group’s needs not just one that sounds good. If your group needs to raise a few hundred dollars, then lollipops or a small order of candy bars may be appropriate. If you need to raise $1,000 to $5,000, you may want to use an order taker fundraiser like a popular nuts and snacks program or a cookie dough fundraiser.
- What would our group enjoy selling? Your group members will determine the success of your fundraiser. Ask them what they would like to sell and what they don’t. A football team will sell much more food product than they would flower bulbs. The more they like the product, the more confident and motivated they will be to sell them.
- Order-taker brochures VS Direct-sellers (ex. $1 candy bars)? If you have no funds up-front to purchase product, an order-taker fundraiser is your ONLY choice. JustFundraising.com will mail you free brochures, so your group can collect as many sales as possible. Typically, you keep up to 50% profit on EVERY sale you make. Direct-sellers, also known as show-and-sell products (candy bars, lollipops, etc.), are great to sell at events, booths, and with disciplined and safe door-to-door fundraising.
- Are the products we’re selling of high quality? A consumer will be happy to support a worthy cause, however they will be turned off if they’re paying for an inferior or significantly overpriced product. Remember that your fundraiser may be an annual or semi-annual event, and nothing builds profits like a reputation for offering top quality products.
- Does the retail price match the income level of your community? $20 items in many communities just don’t sell like they used to. I like the idea of offering a selection of $5 to $20 items, so your supporters have a choice, and if their budget allows, they can purchase several items. That’s why Snackin’ in the USA (items sell for $7 each) and our $10 Gourmet Cookie Dough fundraiser have become so popular. More affordable products will often sell more easily.
Step 2: Organize All Your Fundraiser Details

Once you’ve establish the fundamentals, you’ll need to take your high-level fundraiser goal and break it down for each individual seller, schedule important touch-point dates and milestones, and craft an engaging fundraising letter you and your sales team can use boost sales.
1) Determine Individual Sales Targets:
If your organization doesn’t have any restrictions on setting sales objectives per seller, please make sure you take the time to set the individual sales targets. When you determine what they are, set them a bit higher, to compensate for any weaker sellers.
Use this simple formula:
Step 1: Fundraiser Profit Objective / Profit per unit sold = Total # of items to sell
Step 2: Total # of items to sell /# of sellers
Here’s an example:
If a group of 20 members needs to earn $1000 profit, and the items generate a profit of $3.50 per item sold, I will calculate the individual target as follows:
Step 1: $1,000/$3.50 =286 items
Step 2: 286 items/20 sellers = 14 items each
2) Determine Key Dates For Your Fundraiser - This Schedule May Help:
- Order product or order-takers from JustFundraising.com:
- Pre-launch letter(email and letter to parents and sellers):
- Launch (ideally, everyone there in person):
- Mid-way Collections (optional):
- Final Collection Day (collect all orders and funds from sellers/parents):
- Place order with fundraising company (if order-taker fundraiser):
- Distribution Day (usually 14 days after your order is placed):
3) Determine Collection Dates:
When and how often would you like them to turn in their funds - every day, once per week, only at the end of the fundraiser? I recommend no more than 2 collection dates per fundraiser to minimize the administration involved. Make sure the dates are indicated in the parent letter.
4) Determine Seller Incentives:
Small groups: Most smaller groups such as teams or classes, don’t require prize programs because the participants are raising funds for something that will benefit them directly such as a tournament, uniforms, equipment, or a class trip.
Large groups: Larger groups often have more difficulty getting participation, so some ideas to increase participation are to offer:
- Best –seller prizes: if it’s a large group, you’ll probably want to have a best-seller prize per team or class, and overall prizes for the top 3 sellers of the entire organization. Try and get them sponsored by local retailers in return for placing their logo on your fundraising material.
- Participation prizes: these can be given to each seller who even just sells 1 item, or maybe set the bar a little higher, at 2 or 3 items. Participation prizes will give kids and parents an extra incentive to get started and may help spark a top seller!
- Draw: Perhaps for every item sold, the participant gets one chance at winning the big prize. If they sell 10 items, they get 10 chances.
- Group Prizes: creating competition and rivalry between classes and teams is an excellent way to sky rocket your sales. Each participant will be held accountable by their peers and will encourage each other to keep fundraising. Common group prizes would be a pizza party and movie and 2 hours in the school park for the group that sells the most.
5) Determine Your List of Helpers:
To motivate the sellers: make sure a reputable and enthusiastic group leader with strong communication skills, leads the launch of your fundraiser. This could be your school principal, league president, teacher or coach, or yourself, the fundraising organizer. This will help create a great energy for your fundraiser and get things started on the right foot.
To collect the money: if it’s a school fundraiser, consider asking teachers to help collect the funds throughout the fundraiser? For team and church fundraisers, designate a key trusted individual - coach, assistant coach, volunteer parent, pastor or fundraising organizer.
To distribute the product: the larger your group, the more help you’ll need on distribution day. Ask parent volunteers and make sure you have 1 go-to person managing all logistics and who can answer all questions.

6) Determine Your Selling Locations:
If you plan to set-up a fundraiser booth in key locations in your local community such as outside of a Walmart, make sure you get prior approval from the store manager, and prepare all materials necessary.
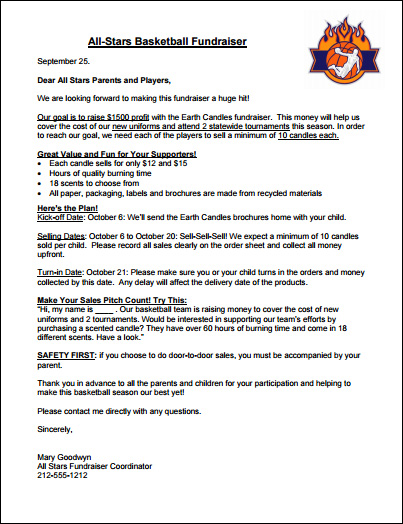
7) Prepare the Parent-Seller Letter and Series of Communiques:
Now that you’ve organized all of the elements of your fundraiser, it’s time to put it on paper. Your goal is to put together a series of informative and persuasive parent-child letters including an amazing kick-off letter that will get everyone excited.
The letters should include all the info needed to guide and motivate your sellers including:
- WHY they are doing the fundraiser and how they’ll benefit
- How many items they’re expected to sell
- The perfect sales script (which they should memorize)
- Any incentive plan and prizes
- Important collection dates
- Safety tips
- fundraising coordinator contact info
To help you out, we have created a sample parent letter for you if you do not already have one. Simply replace the name and dates for your fundraiser.
Step 3: Motivate Your Sellers And Supporters

Now that you’ve done all the necessary planning, it’s time to start selling. It might be tempting to just start sending your volunteers door to door and start collecting right away but there are some great tools and methods you can employ to maximize your team’s efforts while boosting sales.
1) Make It the BEST Fundraiser Kick-Off EVER!
- Make sure you have your reputable group leader (pastor, principal, coach, president, fundraising chair) present the fundraiser details to the parents and kids in a fun, exciting and persuasive manner! Remember, it’s crucial to explain the WHY behind the fundraiser, so you get them to buy-in!
- Keep it fun by doing a quiz after you’re presentation. “How many items do each of you have to sell so we can reach our goal?” “What are we raising the money for?”
- If there are prizes, have them on display so everyone can see them. Keep them on display throughout the fundraiser.
2) Educate Your Sellers!
- As each parent-child picks up their product or order-taker, have them tell you WHY you are fundraising, and have them recite the sales script you provided in the parent letter.
- Emphasize SAFETY and make sure all children know they should be accompanied by an adult when going door-to-door.
3) Promote to Your Sellers and Community Using Print and Social Media
- Place posters in your school, church, local retailers, etc to remind people of your fundraiser.
- Announce results and best-sellers to date periodically (if you’re a school- use the intercom)
- Use Social Media to create awareness for your fundraiser. If you have a Facebook page or web site, let everyone know WHY your group is fundraising and how they can help. Also, use it to update everyone on the progress of your fundraiser, and consider using a thermometer to illustrate funds collected to date.
Check out JustFundraising.com’s Free Fundraising Thermometer

4) Keep Your Sellers Informed and Motivated
Recommended Schedule of Correspondence:
- Introductory Letter and Email – outline incentives, benefits and individual and group fundraising goals. Send home with kids and email parents too. 1-2 weeks prior to fundraiser kick-off.
- Kick-off Date Letter and Email – to accompany kids with their fundraising product on the date of the fundraising launch; and email parents.
- Mid-Way Letter and Email – 10 days into the fundraiser, send reminder letter and email to parents, reminding them of the incentives and benefits of the fundraiser and how much time they have left to sell and to turn in their funds.
- End of Fundraiser Letter and Email
- Summary of Fundraiser and Thank You Letter and Email
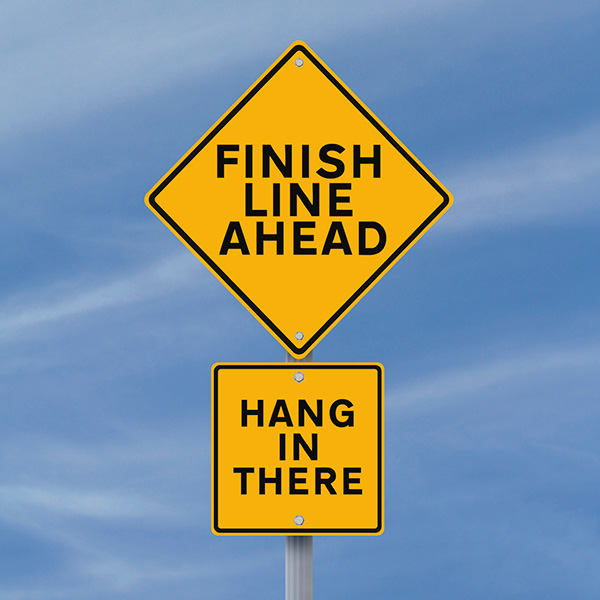
STEP 4: Distribution and Thank Yous!
If you’re doing an order-taker fundraiser, the products will arrive about 2 weeks after payment. Consider the following to ensure a smooth delivery and product distribution, and that all are properly thanked.
- Have a few volunteers ready to help out with sorting.
- Let parents know the pick-up time for their items. A good time is usually at morning drop-off, lunch or immediately after school.
- When delivery arrives, always count the number of boxes.
- Use your invoice to confirm receipt of all your group’s ordered items.
- For order-taker fundraisers, return a copy of the order forms along with the respective product to your members, so they know who they need to deliver the product to.
- If there are any missing or damaged items, you should report it to your fundraising company immediately.
2) Thank You! Tips:
Make sure that everyone who participated in any way is thanked for helping you reach your goals.
Who:
- Your Group: say THANK YOU to any sponsors and other organizations that supported you.
- Group Leader: say THANK YOU to all your volunteers – they’re your most precious assets and their hard work often goes unnoticed!
- Volunteers: When parents and kids pick up their product, say THANK YOU for their participation
- Parents and Children: Say THANK YOU to your supporters for being so generous and caring towards your cause!
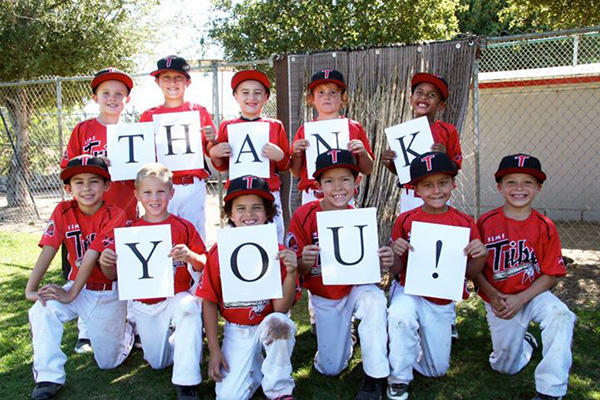
Use social media to say THANK YOU!:
If you have a group site or Facebook page, make sure a big THANK YOU is shouted out to all the volunteers, parents, children, supporters and sponsors.
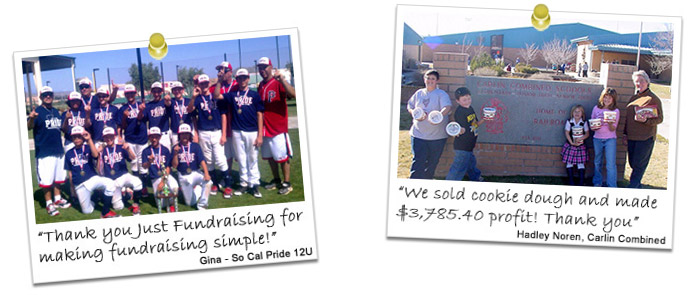
Mention the financial results and what you’ll be able to purchase and accomplish with the new funds. Some groups have taken creative and fun group pictures holding up a huge THANK YOU sign - and as you know a picture is worth a thousand words!

Fundraiser Planning Checklist
Get our entire Step-by-Step Fundraising Guide in a 1-page checklist. Use your checklist to make sure your fundraiser is planned out well and executed perfectly!
We Want To Help!
We hope our Fundraiser Planning Guide has been helpful. If you’re planning on doing a product fundraiser, and have questions or would like to get started, our fundraising experts would be happy to help. Please call us at toll-free 1-888-440-4114.
We Make It Easy
Why Choose Us Special Offers No Money Up Front Our Guarantee Flexible Payment
Need Help?
Contact Us Fundraiser Guide Order Fundraising Samples Fundraising 101 Free Fundraising Catalog
About Us
Achieve Anything Testimonials Success Stories In the Community eNewsletters Proud member of AFRDS
![]()
Order securely online 24/7
Code: